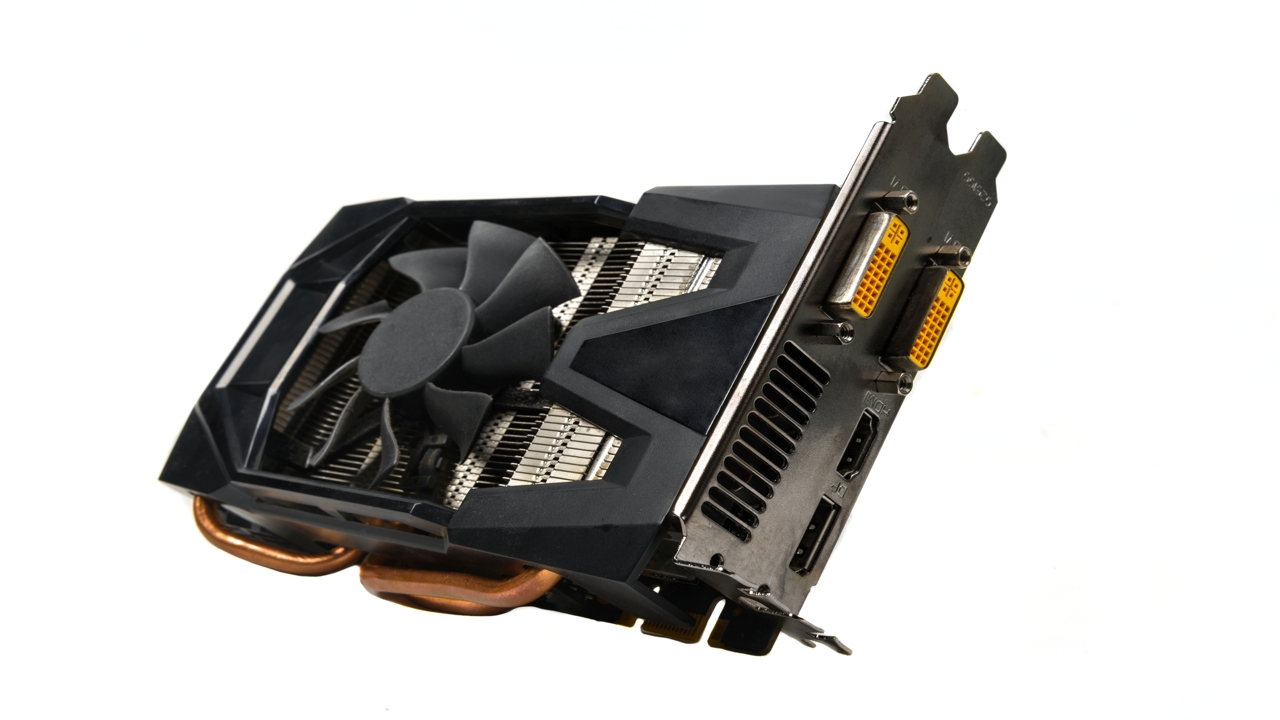
A video card upgrade is necessary to keep up with constant improvisations that manufacturers come up with and to improve the quality of video viewing. Here is the process to upgrade a video card.
A video card is also known as video adapter, display card, graphics card, graphics board, display adapter, or graphics adapter. It comprises a chipset which has a definite circuit combination that gives it particular features and makes it compatible with the entire system. Since the manufacturers are constantly innovating and coming up with additional features, your old adapter is sure to become obsolete over a period of time. Hence, it may not support most of the newer programs and you may have to upgrade it to ensure quality video viewing on your system.
Upgrading these adapters is very easy and it can be done at home. The important thing, however, is to buy the right adapter according to the motherboard slot and its compatibility.
Before undertaking the upgrade, it is important to determine the type of video adapter you need, and to compare it with others so that you purchase a new one accordingly.
Determining the Type
Step 1
PCI, PCI-E, PCI-E2, and AGP are the various types of sockets you can find on the motherboard of a system. Look for the sockets on your motherboard and refer to its documentation to find out the type of card installed in your system. In case you have a PCI or PCI-E socket, you can skip the next step, as the motherboard is compatible with any new card available in the market. But, if you have an AGP socket, you need to determine its version first.
Step 2
As the manufacturers of AGP adapters have been constantly reinventing their product, there are several versions available in the market. Their 3 main types include – 1x, 2x-4x, and 4x-8x. You can determine the type by examining its edge connector. Notches or slots on its edge will direct you to install the appropriate adapter. Also, refer to the documentation which comes along with the computer to get a better understanding of your motherboard’s compatibility with video adapters.
Installation
Step 1
You need to replace the old video drivers from your computer with new ones. To start with, right click on ‘My Computer’ icon, and go to Properties → Hardware → Device Manager.
Step 2
Select ‘display adapter’ and right click on the ‘video card’ option. Select ‘Uninstall’ from the drop-down list that appears. Close all the applications and shut down your system. Also, unplug the power chord connected to the CPU.
Step 3
Remove the CPU case and search for the video adapter. Use a screwdriver to unscrew it and remove it from its position with care. In case your system has a plastic clip holding the card, you can simply take it off with your fingers.
Step 4
After you have removed the existing adapter, replace it with the new adapter in the same position and ensure that it fits properly into the slot. Fix screws you may have removed or attach back the plastic clip on the adapter. Fix the case back on to the CPU, plug-in the power chord, and switch on the computer. To install new drivers, insert the CD which comes along with the new graphics card and your work is done.
A video card upgrade enhances the viewing experience on your computer. Animated videos become more clear, gaming graphics are better processed, and other visual effects also appear more spectacular than ever before. Apart from upgrading the video card, it is also vital to upgrade the RAM and processor, so that you obtain maximum benefits.