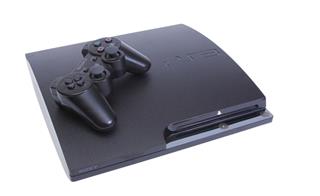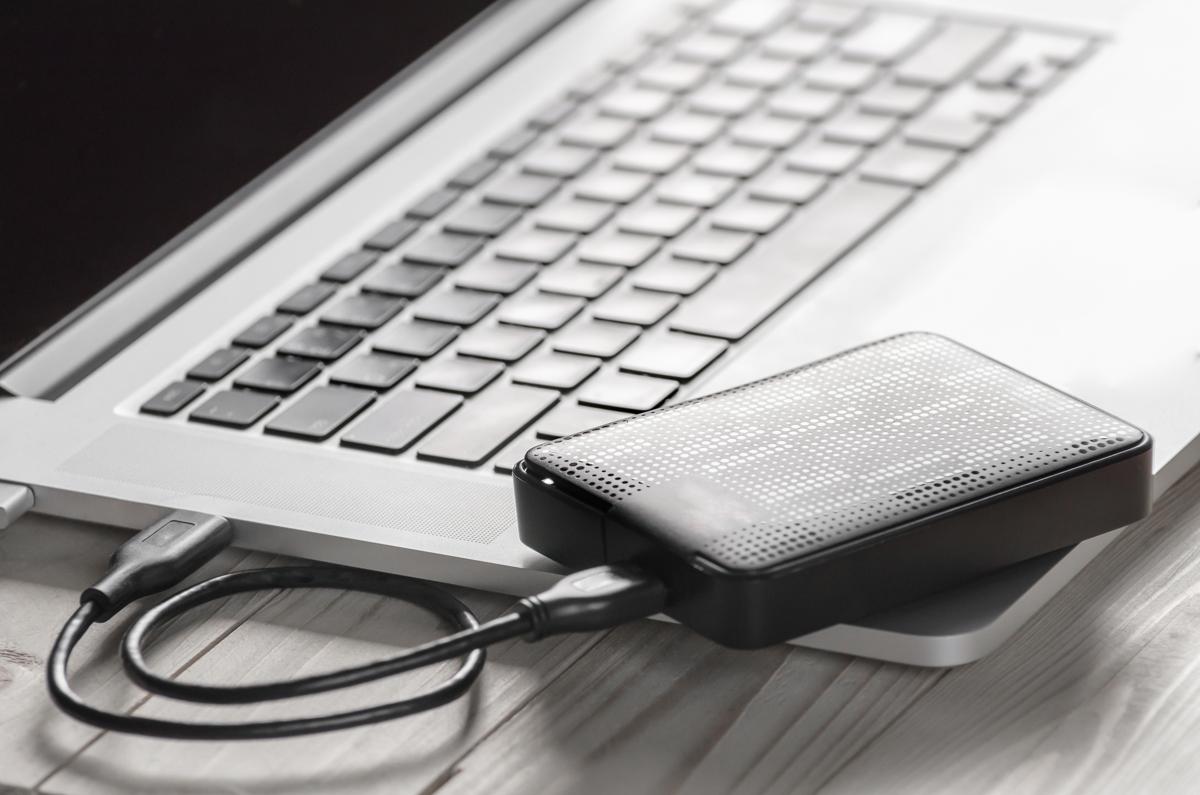
For hardcore gamers out there, 120 GB of storage space on board their PS3 is like putting a grizzly on a ‘one meal a day’ diet! Here’s a simple fix to add tons of storage space on your console for all your entertainment needs.
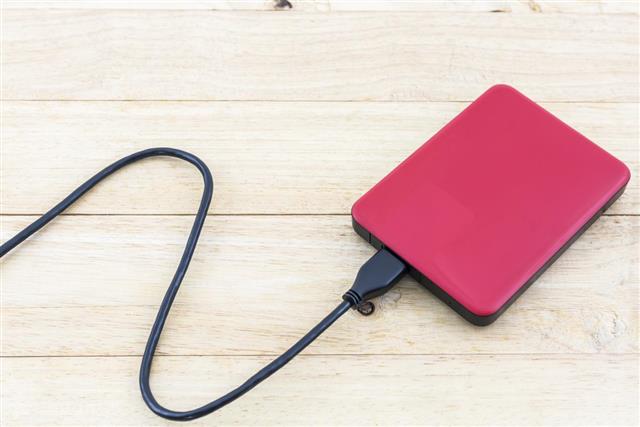
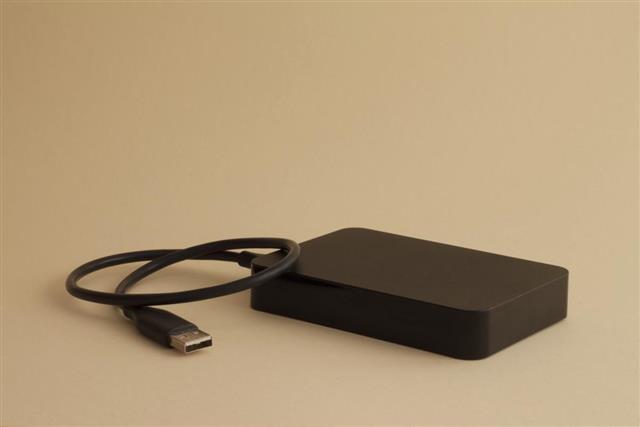
By using an external hard drive with your PS3, you can substantially increase the amount of space you have on your console. The advantages of greater memory space need not be highlighted, as this lets you store more games, and more media content. There are many different hard drive sizes available for the PS3 when you buy it from the market today, and in most cases the space provided by Sony is just not enough.
The most effective way around this, would be to replace the hard drive in the console with a larger one. Although this would undoubtedly give you more storage space and a neat look, it does have its share of problems. The main problem with replacing the hard drive is that the process itself is rather complicated and amateurs would be well-advised to stay off. Also, it goes unsaid that tampering with your console will void your warranty. Moreover, there could be other problems, especially during firmware upgrades, that could come up with such modded consoles.
The simplest of solutions, and one that doesn’t need you to be a geek to try out, is getting yourself an external HDD, and using it as the storage device for your console. Here’s how you can go about with it.
Installing External Hard Drive with PS3
You will need
– Your PS3 Console
– A computer (PC/Mac)
– Flashing Software (For PC)
– This Article!!
Just before you start, you might want to keep in mind that all the data on your external hard disk is going to be erased, so you might want to back up all your important data.
Let’s get started
• Connect the hard drive to your computer
• Go on to Start > Control Panel > Administrative Tools > Computer Management > Disk Manager > (Check to see if the system type is FAT32).
• If the system type is in fact FAT32, simply right-click on the drive and select the format option.
• (If the system type is FAT32, skip this step). If the file system type is NTFS, right-click on the drive, and click on ‘Delete Partition’, without changing any of the default settings. Download and install a formatting software, like SwissKnife V3, or any other utility tool to format your drive to FAT32. Select the hard drive that you need to partition. Select ‘Partition Type – Primary’, ‘File System – FAT32’, ‘Volume Label’, and then choose ‘Create’. This process will set up your FAT32 type file system.
• We’re almost done. Open the hard drive on the ‘My Computer’ section in your PC, and create folders there called, ‘PICTURE’, ‘MUSIC’, ‘VIDEO’, and ‘GAME’ (These folders need to be created in capital letters, and their names should correspond with those on your PS3).
• Connect the hard drive to the PS3, and check if the folders you created open there. If they do, you can save all your games and multimedia content in their respective folders.
Voila! You’re all set and good to go.
Once this process has been completed, you can even transfer files to your external hard drive from your PC, and then view these files via the PS3. This is a great way for sharing files, and it also provides you with the unmatched power of greater space to store your PS3 files. The only problem with this method, or for that matter the PS3 console itself, is that you will not be able to save files which are larger than 4 GB, as it is not supported by the file system. This means that you will not be able to watch any advanced HD content on it. External hard drives that are available today have a variety of sizes, and you can purchase one that you feel will suit your requirements. This task of using the external hard drive is very elemental, and anyone can make use of this option. All you have to do is change the file system type, and you are ready to enjoy the benefits of increased memory for your PS3 console. Let the games begin!
