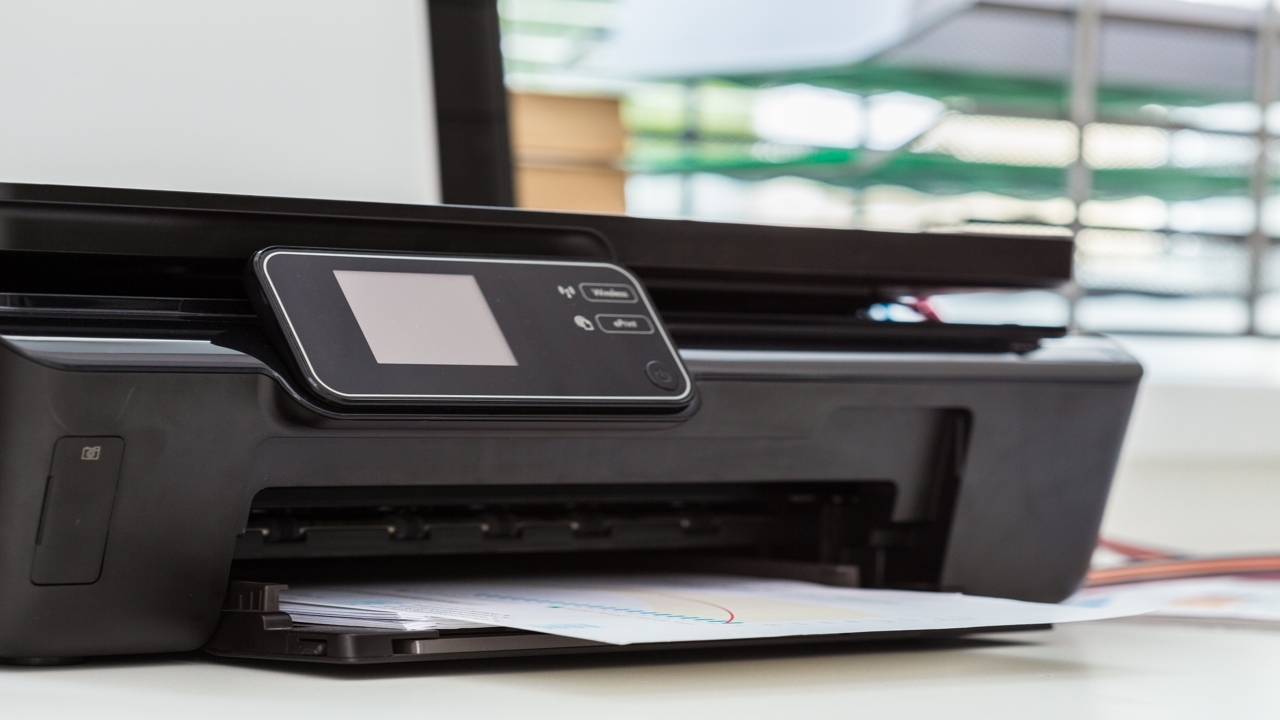
The moment you notice that the pages being printed by your laser printer have streaks across the page, you should realize that it may be time to replace the toner cartridge. In this article, we tell you the steps involved in changing a cartridge.
You are printing out the pages for a report that is due in less than ten minutes and suddenly all the pages that you are printing out are either completely blackened or just a hazy reproduction of the page you actually wanted. Well if this is the problem, then you can be sure that it is time to replace the cartridge of your printer. Most people do not know that the process of replacing a toner cartridge is extremely simple.
Changing Cartridge of a Laser Printer
It can extremely irritating to have your cartridge run out right when you have to print out a hundred and one important documents. If you are not too sure of the exact procedure, then this article should help you understand exactly how easy it is to change the cartridge. All you need to do is follow the simple steps given below.
- Once you start noticing the problems that you are having with the quality of the printed page, and you have determined that it is a toner problem, you need to navigate the menu of the printer to select the option for replacing toner.
- Once this is done, the printer will give you a variety of options so that you can choose which cartridge you need to replace. Select the cartridge that needs replacement. Once you make the selection, the cartridge will rotate to the front of the inside of the printer.
- Next you need to open the cover of the printer. If you are not sure exactly how this needs to be done, check the instruction manual that you received with the printer, or the directions that have been detailed on the replacement cartridge box. Once you have opened the printer cover, you will have to dislodge and remove the cartridge.
- Next you will need to take out the toner cartridge out of its box and shake it gently. It is important to remember that cartridges are extremely sensitive to light and letting them stay in sunlight or even artificial light can actually ruin the cartridge. Once you have removed the cartridge from the box, remove the protective tape sealing it.
- You can now insert the new cartridge in the laser printer. Ensure that you align the cartridge along the arrows. It is imperative that you push it down slightly in order to lock the cartridge in place.
- Now that you have changed the toner cartridge, you can close the door of the printer. In order to ensure that the cartridge is loaded properly, you may have to print a test page or two.
It is important that you maintain utmost care when changing a cartridge. If you manage to dirty your clothes, or get the toner on your hand, then it may be essential to wash up immediately with cold water. Also ensure that you take the cartridge out of the box just before you install it in the printer. Leaving it around for a long time will only reduce the life of the cartridge which is something that you would want to avoid. Once you have replaced the cartridge, you should send out the old cartridge to the manufacturer so that it can be recycled. Now you know that learning to change the toner cartridge is one of the easiest tasks ever and is a printer problem that can be solved in a jiffy. It may seem a little messy the first time you change a toner but you will get used to the process and for sure never get stuck in a situation where every page you print has just a streak of incomprehensible signs across it.